Table of contents
Installing a Self-Hosted Agent on Local Windows(No Container)
Download and Configure the Agent
Log on to the machine using the account for which you’ve prepared permissions.
Sign In to Azure Pipelines
- Open your web browser and sign in to Azure DevOps.
- Navigate to your organization settings:
https://dev.azure.com/{your-org}.
Navigate to Agent Pools
- Choose Azure DevOps > Organization settings.
- Select Agent pools.
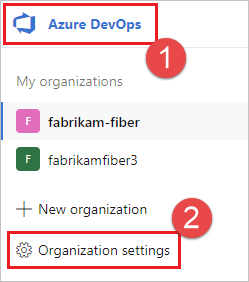
- Choose the Agent pools tab.
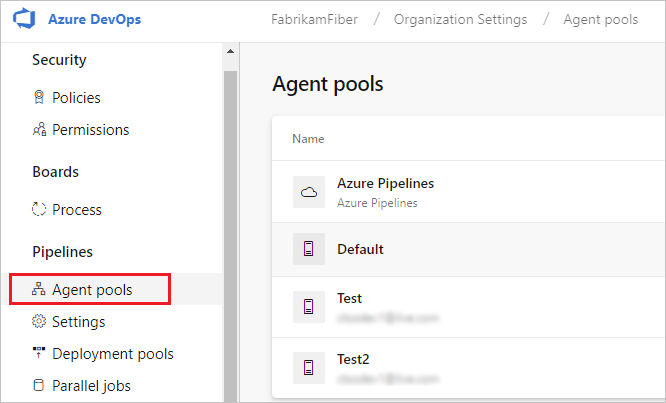
- Select the Default pool, go to the Agents tab, and choose New agent.
Download the Agent
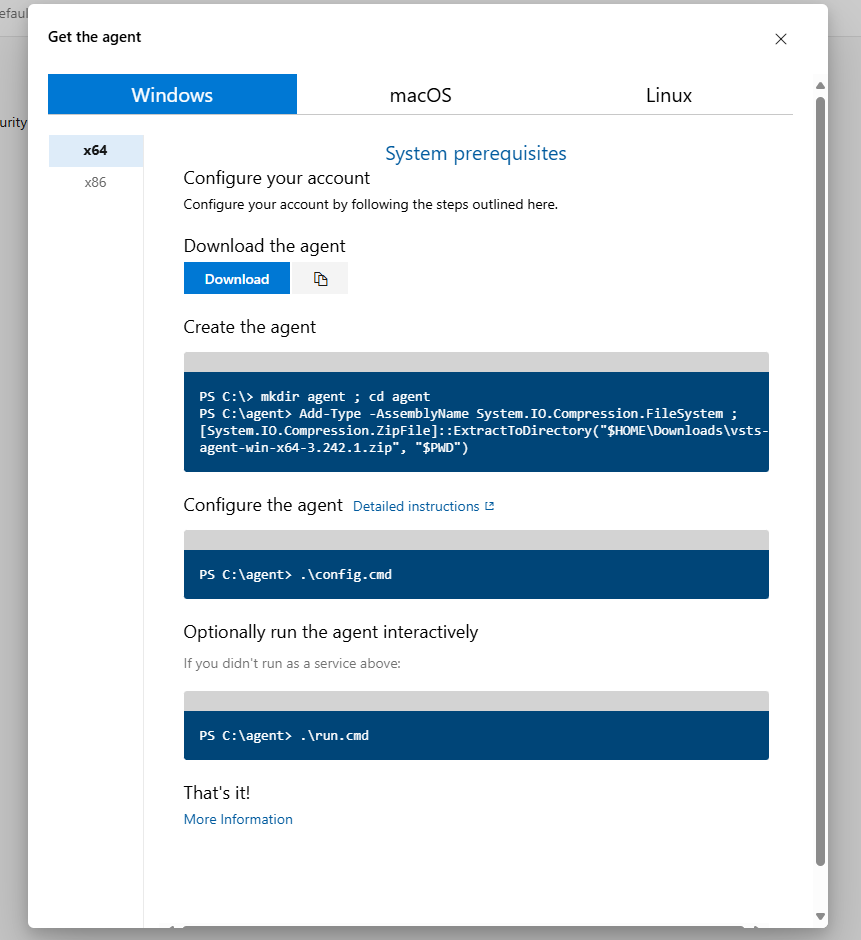
- In the Get the agent dialog box, choose Windows.
- On the left pane, select the processor architecture of your Windows OS (x64 for 64-bit Windows, x86 for 32-bit Windows).
- On the right pane, click the Download button.
Unpack the Agent
- Follow the instructions on the page to download the agent.
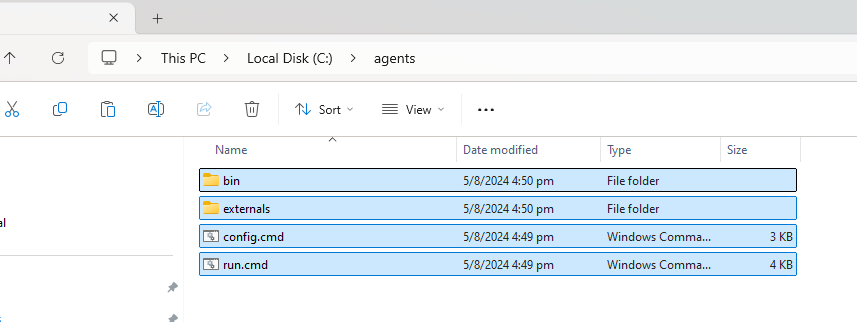
- Unpack the agent into a directory without spaces in its path (e.g.,
C:\agents).

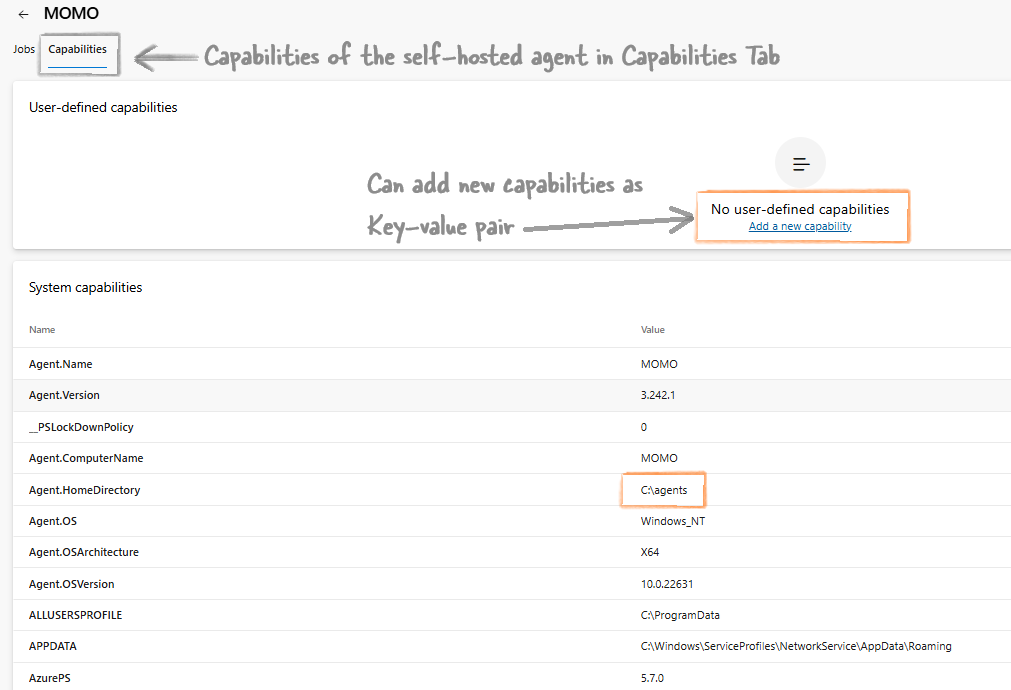
Put the extracted contents directly inside the C:\agents folder.
Configure the Agent
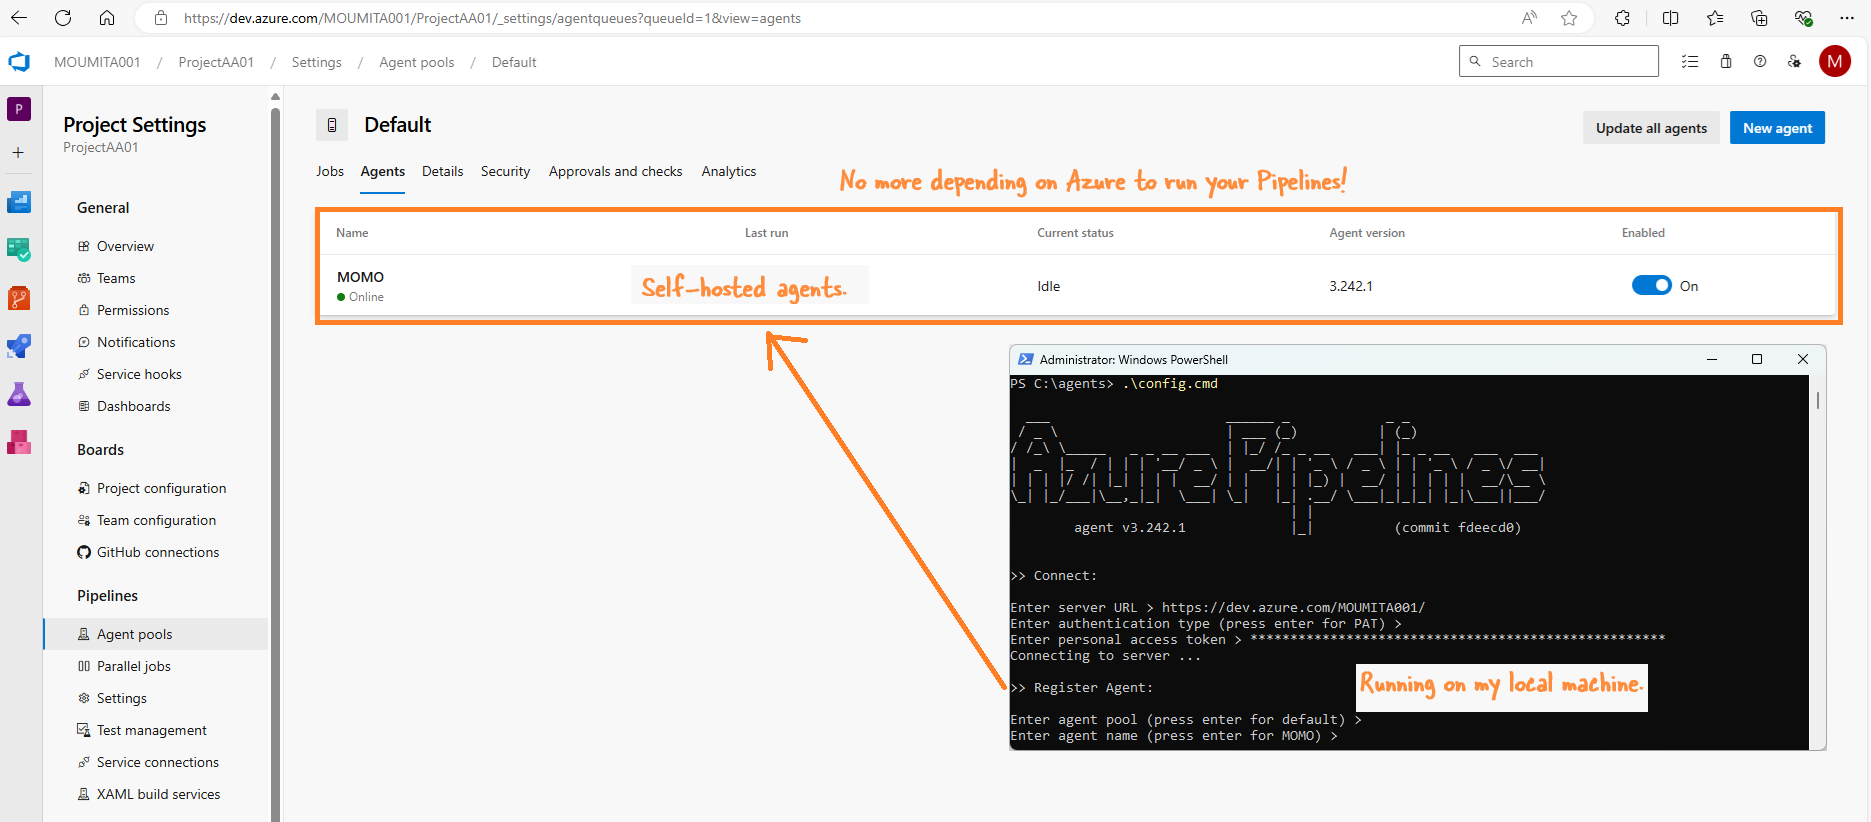
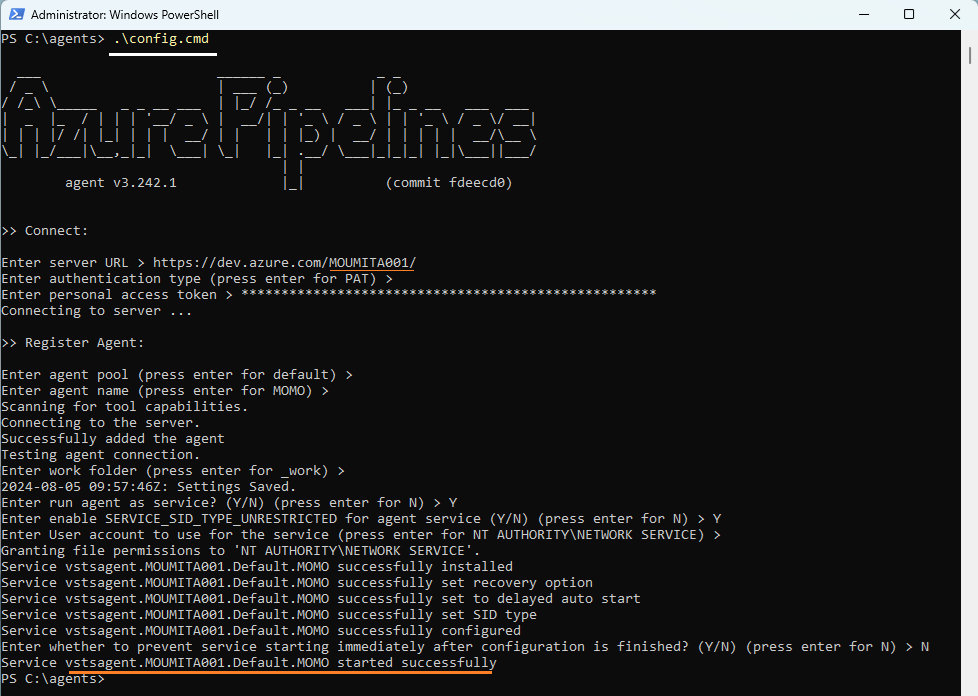
- Open a Command Prompt in the
C:\agentsdirectory. - Run the
config.cmdscript. - When setup asks for your server URL, enter
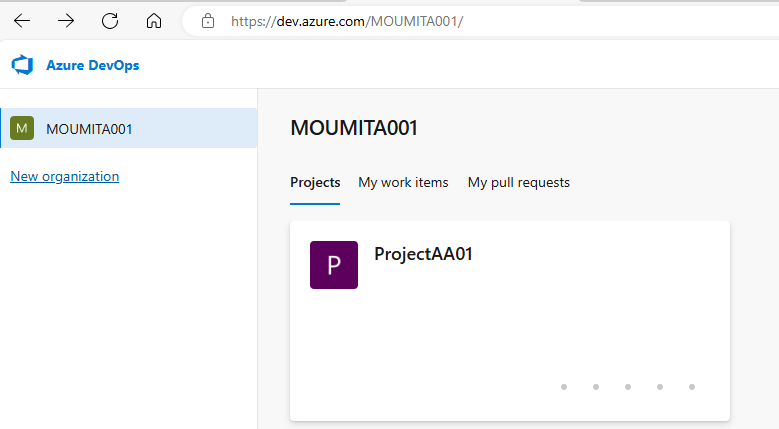
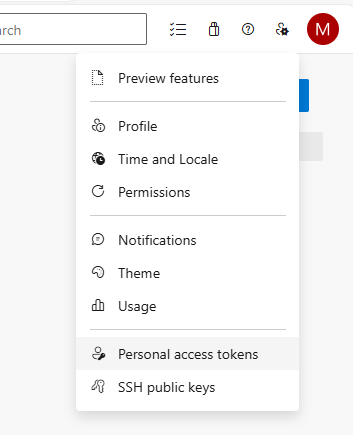
https://dev.azure.com/{org-Name}(e.g.,https://dev.azure.com/MOUMITA001/). - Choose PAT (Personal Access Token) for authentication and enter your PAT.
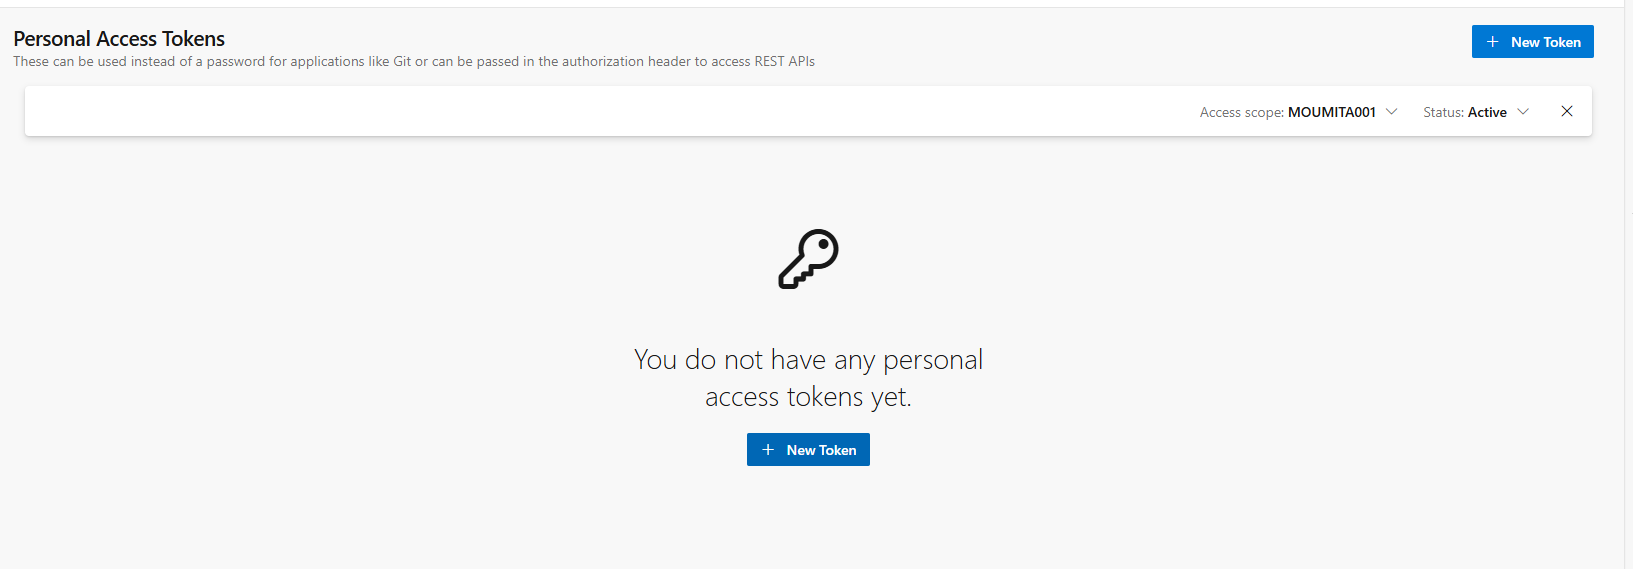
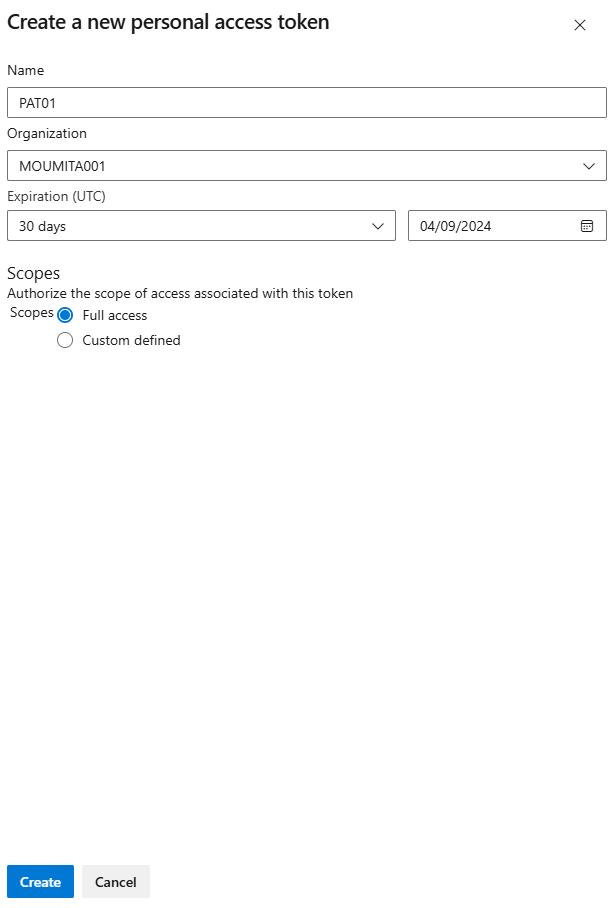
Starting an Agent
To start the agent, run the run.cmd script in the C:\agents directory.
Removing an Agent
To remove the agent, follow these steps:
- Stop the agent by closing the Command Prompt window running the agent.
- Open a new Command Prompt in the
C:\agentsdirectory. - Run the
config.cmd removecommand.

