A DAG’s Anatomy
A DAG in Airflow is basically a Python file (.py file) that lives inside the dags folder. It has to be on the web server, and usually, this folder is mapped to the /opt/airflow/dags folder across all servers.
So, how do you create a DAG?
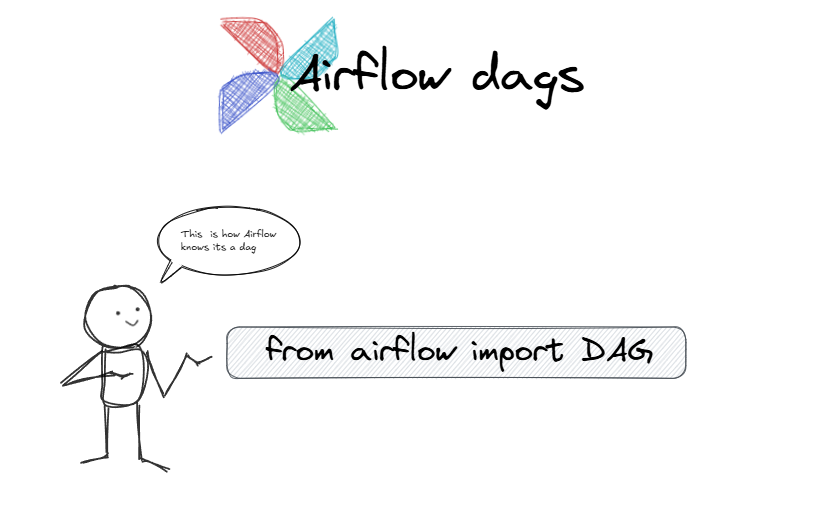
First you create a blabla.py python file inside the /dags folder. Then, you need to import the DAG object. This is how Airflow knows that your Python file is a DAG:

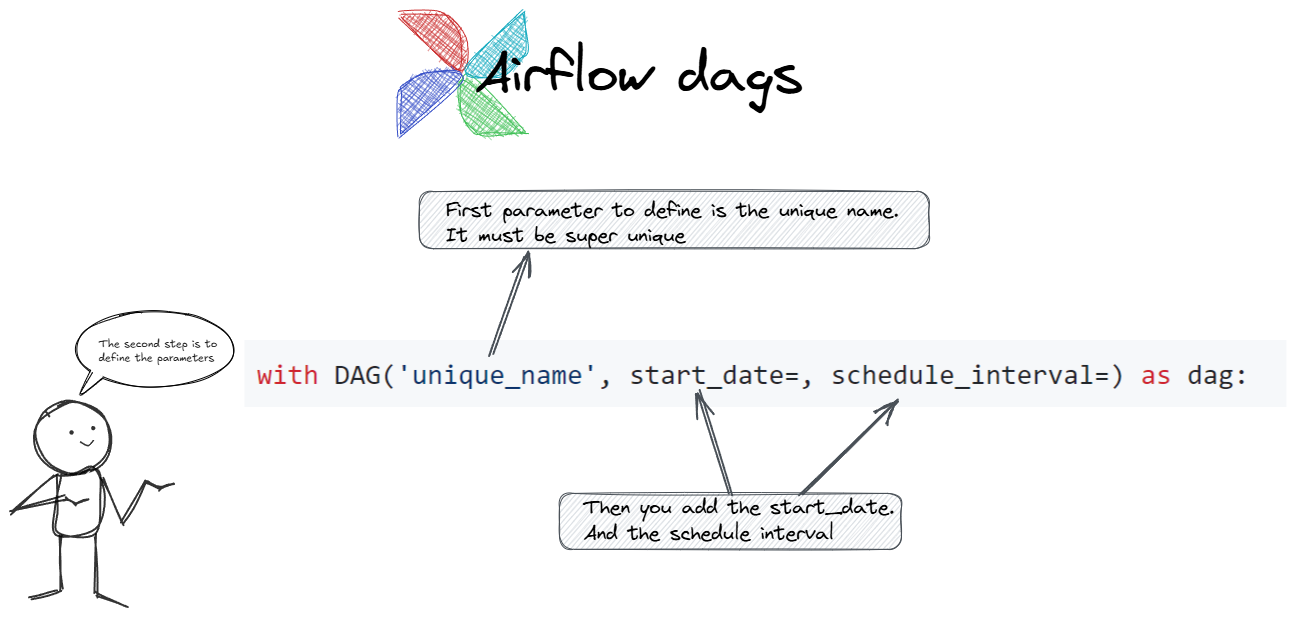
Then, you define the DAG itself using a unique name:

- Unique DAG ID: This name has to be super unique across your entire Airflow setup.
- Start Date: You need to tell Airflow when to start running this DAG.
- Schedule Interval: This is where you define how often the DAG should run, usually with a cron expression.
- catchup=False This prevents Airflow from trying to catch up with all the past runs, which can save you from a lot of unnecessary DAG runs and give you more manual control.
Finally, you would add your tasks under this DAG. To keep it simple we can just add None.
So, total code would look like:
from airflow import DAG
from datetime import datetime

with DAG('donald_kim', start_date=datetime(2022,1,1), schedule_interval='@daily', catchup=False) as dag:

None
We’ve created our base let’s create a task
Now, we will create a task to create a table in Postgress.
Firs step would be to import hte postgres operator:
from airflow.providers.postgres.operators.postgres import PostgresOperator
Then we create a table. Inside it we create a task_id. It has to be unique.
create_table = PostgresOperator(task_id=’create_table’, postgres_conn_id=’postgres’, sql=’’’ CREATE TABLE IF NOT EXISTS users(firstname text NOT NULL)’’’)