Getting Started with Git
Every project needs version control. Git is that version control. There are others - Mercurial, Subversion, Visual Source Safe. But git won. It's free, open source, distributed, can work offline and large brands like GitHub, GitLab, BitBucket, or Azure DevOps use git. This section will focus on some important Git concepts you need to know.
So, how do we define Git? Git is a version control system that solves the chaos of many people working on the same project—like overwritten files or version confusion—by acting as a 'sophisticated save button' that keeps a detailed history of every change and provides commands to safely 'combine' everyone's work.
Install Git and configure VS Code to use it
This is actually pretty simple. The very first thing you always need is this software called Git. This is the software. So to install it, just visit this link, click download (I’m talking about Windows here), run the installer, and go next → next → next. Below are some snapshots of the installer screens that you may or may not see in the exact same order.
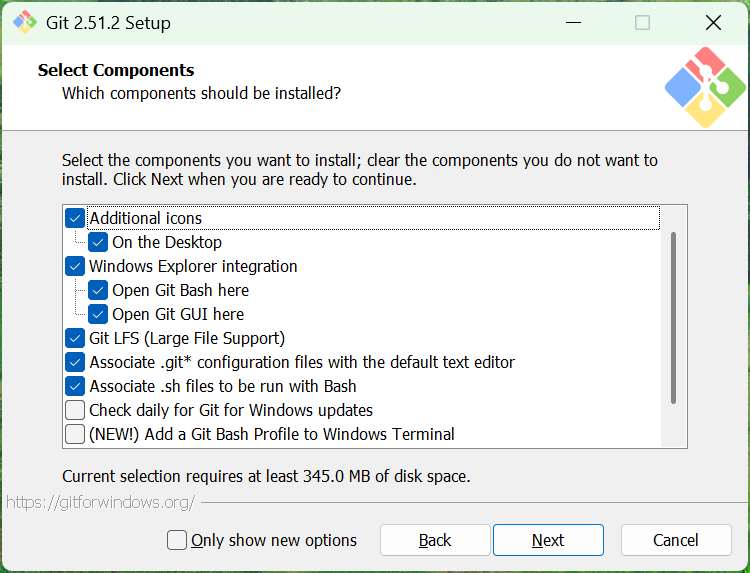
Selecting components
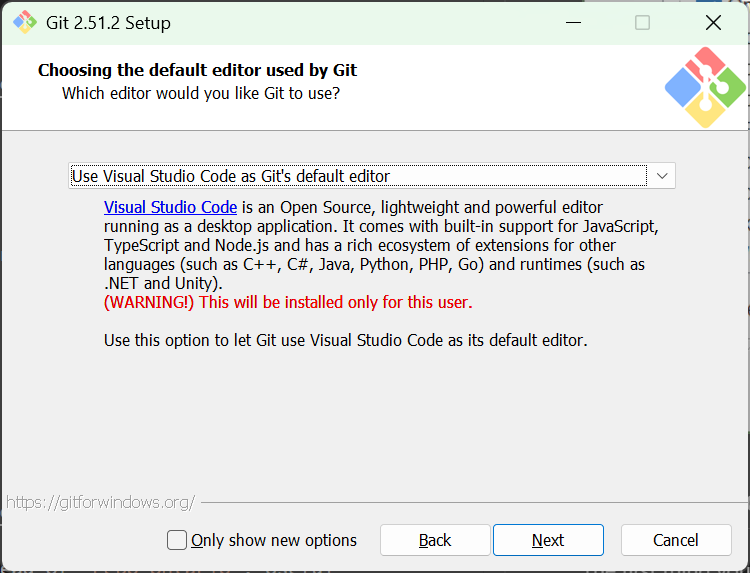
Choosing the default editor used by Git
I choose VS Code, because it makes life easier.
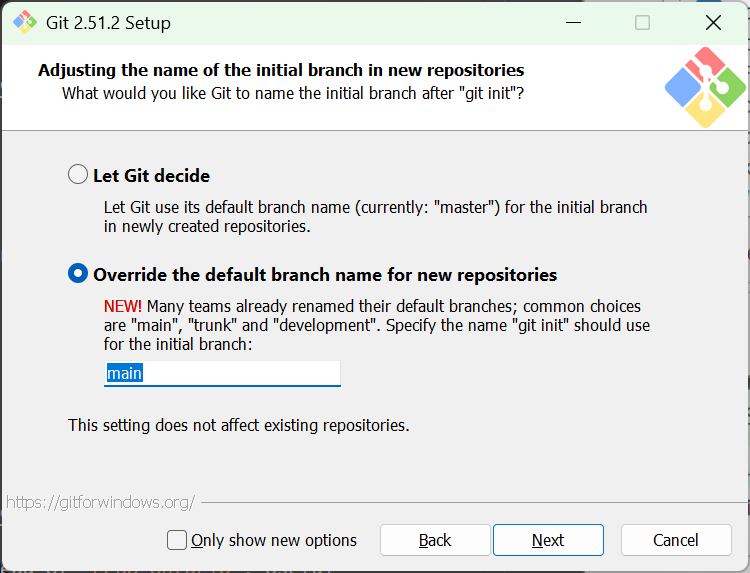
Adjusting the name of the initial branch in new repositories
I choose “Override” and set it to main.
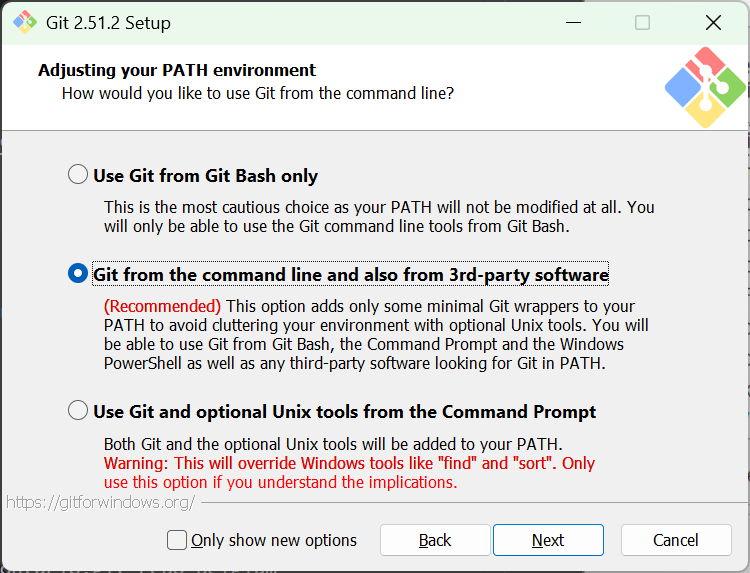
Adjusting the PATH
I usually pick the recommended option.
And so on…
Just keep going with the default or recommended options.

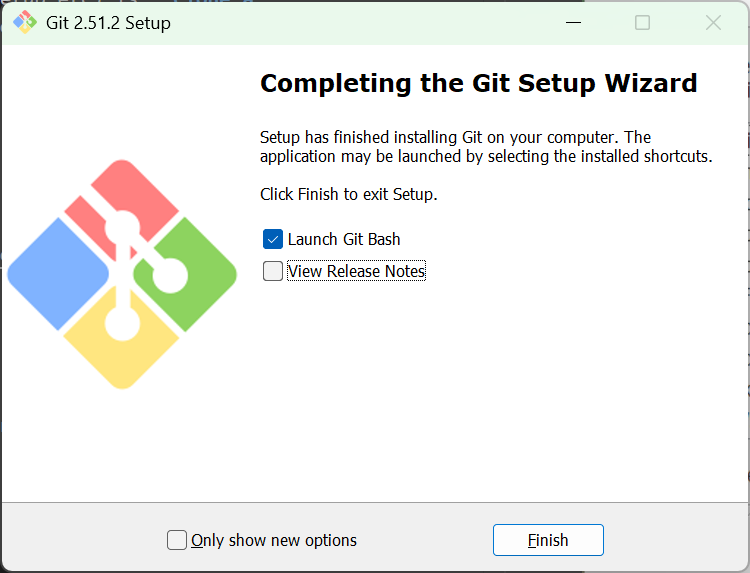
Finally, you should see the “Setup has finished installing Git” message.
Verify that Git works
After everything is installed, just open Command Prompt and type:
Press Enter.
This is the fastest and simplest way to see if Git works. Make sure Git is added to your PATH so you don’t need any rocket science to run it from the command prompt. It will make things much easier later.
Clone a repository
Great job. Yey! You installed git and it works with your VS Code. Now, The first thing you always do (apart from git setup etc) is clone a repository. Your team will already have a repository on some git system (Github/Azure Devops/Gitlab). What this cloning does is simply copies files from the cloud to your machine.
Basic Clone Syntax
Note: The
.gitextension is optional.
Different Ways to Clone
repo-belgium instead of repo-ontario. Useful when the repo name is generic.
development branch instead of main. Saves you from doing git checkout development after cloning.
--branch flag works for tags too.
What Really Happens When You Run git clone?
Behind the Scenes: The Complete Clone Process

You type git clone https://github.com/someone/repo-ontario.git and boom—a whole project appears. But what's actually happening?
Phase 1: The Setup
flowchart LR
A["git clone"] --> B["Create folder"]
B --> C["Initialize .git/"]
C --> D["Add remote 'origin'"]
style A fill:#e1f5ff
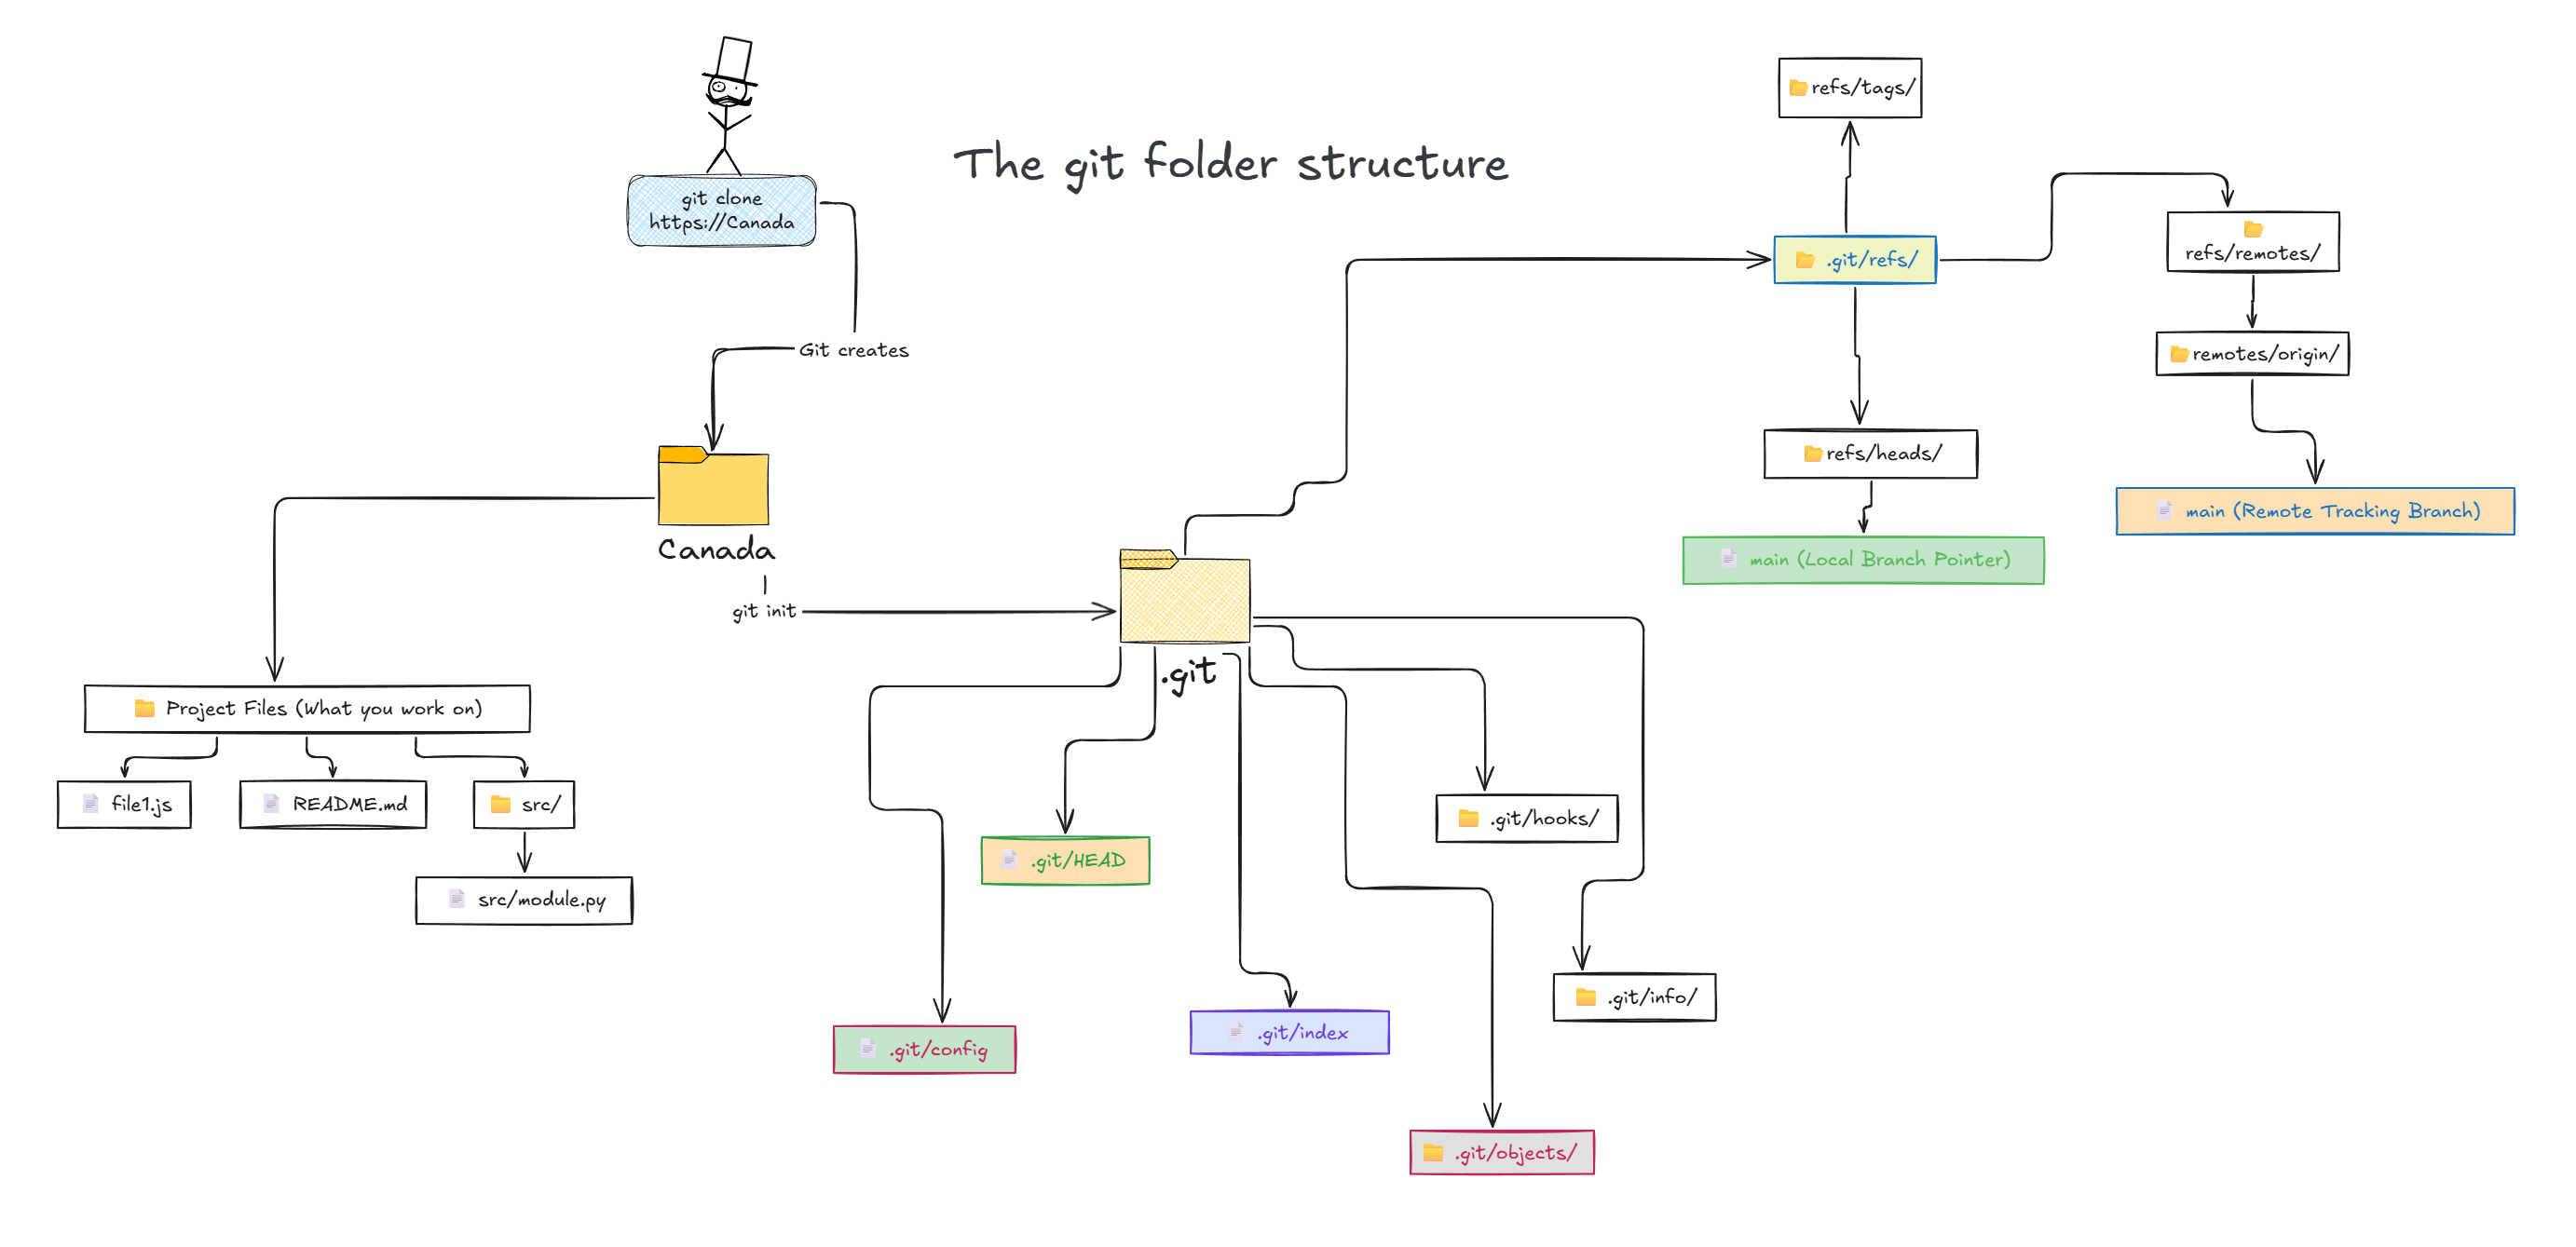
style D fill:#e8f5e9Git creates a folder and initializes a hidden .git folder inside it. This .git folder is the brain—it contains everything Git knows about your project.
Inside the .git Folder
- config → Repository settings
- refs/ → Branch and tag references
- objects/ → All the data (commits, files, everything)
- HEAD → Points to your current branch
- hooks/ → Automation scripts
Git then adds a remote called origin to .git/config:
[remote "origin"]
    url = https://github.com/someone/repo-ontario.git
    fetch = +refs/heads/*:refs/remotes/origin/*
What does that fetch line mean?
"For every branch on the remote (refs/heads/*), create a local tracking reference (refs/remotes/origin/*)."
So main → origin/main, dev → origin/dev, and so on.
Phase 2: The Download
flowchart LR
    A["GitHub Server"] -->|"Download everything"| B[".git/objects/"]
    B --> C["Create origin/main<br/>origin/dev<br/>origin/feature"]
    style A fill:#fff3e0
    style C fill:#e8f5e9
Git downloads everything: every commit ever made, every branch, every tag, every file version. You're getting a time machine, not just the latest code.
How Git Stores Data
It compresses all this using SHA-1 hashing and stores it in .git/objects/—like a library where every book has a unique barcode. Want a specific commit? Git looks up its hash and pulls it instantly.
Git creates read-only snapshots for all remote branches:
origin/main→ Whatmainlooks like on GitHuborigin/dev→ Whatdevlooks like on GitHuborigin/feature→ Whatfeaturelooks like on GitHub
These are Read-Only
You can view them but can't edit them. They update only when you run git fetch or git pull.
Exception: Shallow Clones
If you used --depth 1, Git only downloads that one commit. No history, no other branches (unless you specified them).
Phase 3: The Checkout
flowchart LR
    A["Create local main"] --> B["Link main → origin/main"]
    B --> C["Extract files to<br/>working directory"]
    style A fill:#e1f5ff
    style C fill:#e8f5e9
Git creates your local branch (either main or whatever you specified with -b) and links it to its remote counterpart. This is called tracking.
Why Tracking Matters
It means git pull and git push know where to sync without you specifying every time. It's like speed dial—one command, it knows where to go.
Finally, Git extracts the latest commit's files into your working directory. Now you see actual code, README files, everything.
Advanced Clone Scenarios
Bare Repository (No Working Files)
Creates just the.git folder without any working files. Used for setting up mirrors or servers.