Graph API
- Running Microsoft Graph quick start Python code from a jupyter notebook
- Background
- Getting Started
- Cnclusion
Running Microsoft Graph quick start Python code from a jupyter notebook 
Background
In this guide I will show you how to run Microsoft's example code in a Jupyter notebook. Usually, this code is meant to be run in a terminal, but with a few small changes, you can run it in a notebook instead. Many people like this way because it's more familiar and easy to use. We'll focus on how to make these changes so the code works in Jupyter, without getting into more details about the code.
Getting Started
1. Download the Sample Code
- Navigate to the Microsoft Graph Quick Start page.
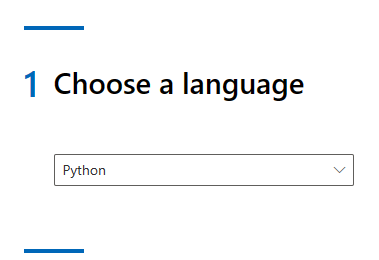
 2. Select Python as your language of choice.
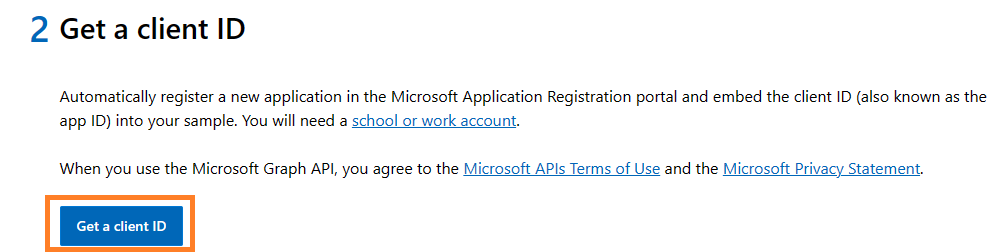
 3. Click on Get a client ID and log in using your personal, work, or school account. Note: An Outlook account is necessary for this step.
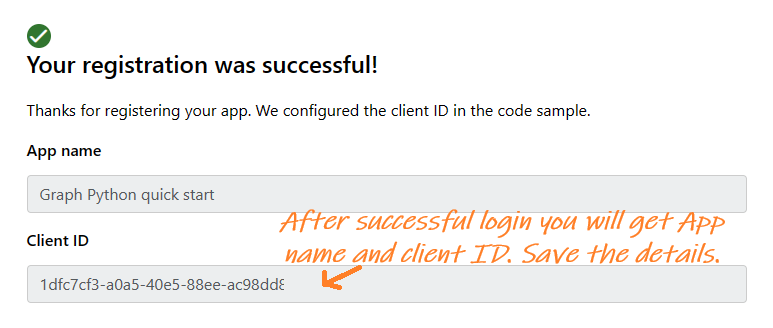
 4. Upon successful login, a client ID will be presented to you. Make sure to save this ID.
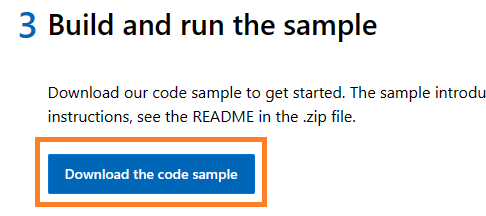
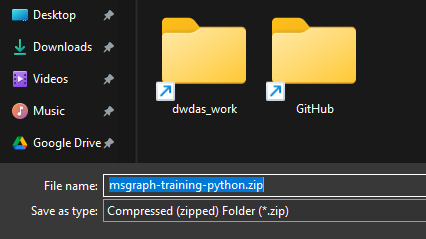
 5. Click on Download the code sample and save the msgraph-training-python.zip file. Unzip its contents into a directory where you have permission to run Python code, such as a Visual Studio Code workspace.
2. Setting Up the Notebook
- Open a Jupyter notebook in Visual Studio Code (VS Code) and navigate (
cd) to thegraphtutorialfolder (e.g.,%cd <Path to>\graphtutorial).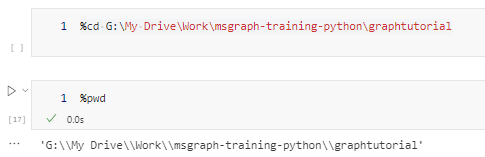
- Install the required dependencies by running
pip install -r requirements.txtin a notebook cell. This process may take about a minute.

3. Adapting the Code for Jupyter
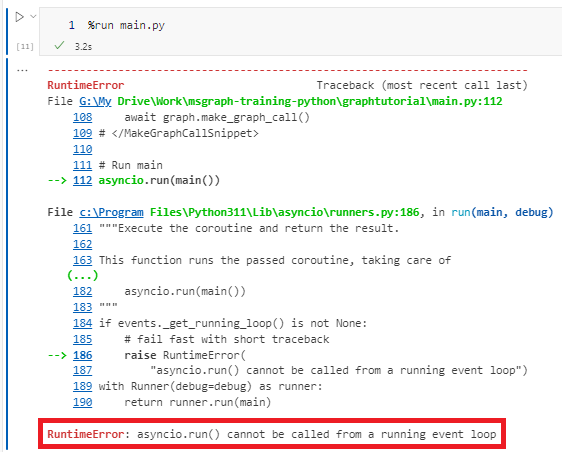
- Attempt to run the
main.pyfile directly in a notebook cell with the command%run main.py. This will likely result in an error due to a conflict between Jupyter's and asyncio's event loops.
 2. To resolve this, install the
 nest_asyncio package with pip install nest_asyncio. This package allows for the nesting of asyncio's event loop, facilitating the running of asynchronous code in Jupyter.
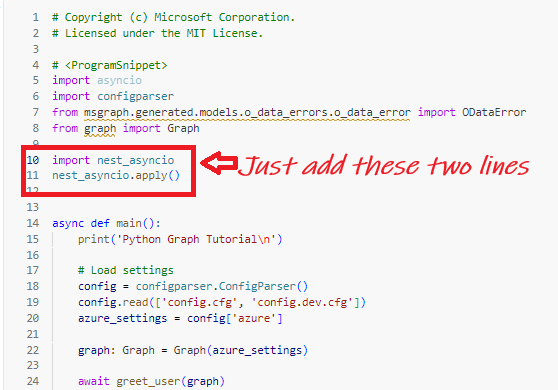
 3. In a new cell, copy and paste the entire code from
 main.py and add the following lines just before the main() function:
```python
import nest_asyncio
nest_asyncio.apply()
```
- Comment out the last line of the script to prevent it from executing immediately.
 5. Run the modified cell. You should not see any output yet.
6. In a new cell, execute
5. Run the modified cell. You should not see any output yet.
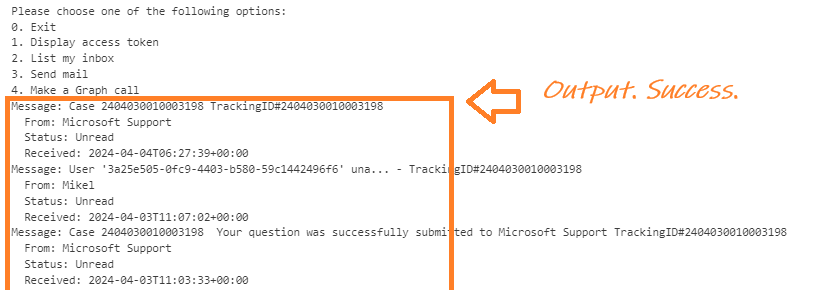
6. In a new cell, execute await main() to run the main function asynchronously. This should produce the expected output.

4. Finalizing the Setup
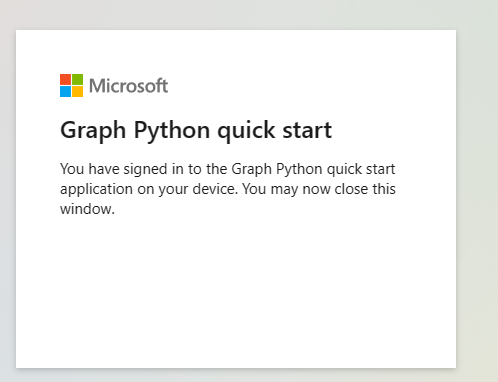
- Follow the on-screen instructions and navigate to Microsoft Device Login to enter the provided code. Complete the login process as prompted.
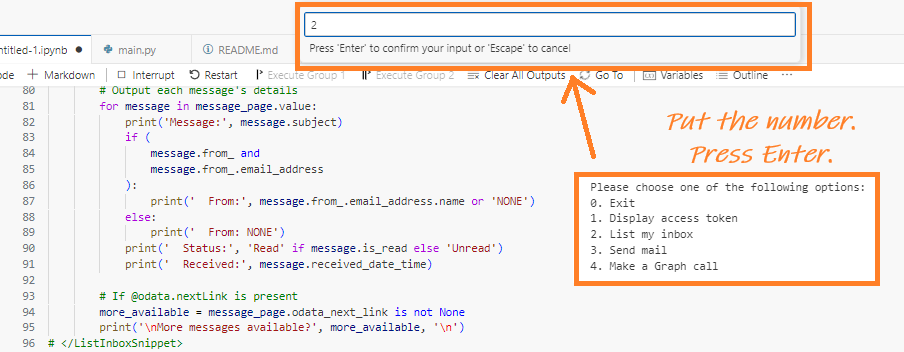
 2. A selection box or palette will appear at the top of VS Code. Enter your choice (e.g.,
 2 to view emails) and press Enter.
 3. Once you've completed your tasks, enter
 0 at the top of the input box and press Enter to conclude the session.
Cnclusion
I have put the juputer notebook vrsion of the code here. All you have to do is place it in your \msgraph-training-python\graphtutorial folder. Open it and run cell by cell.